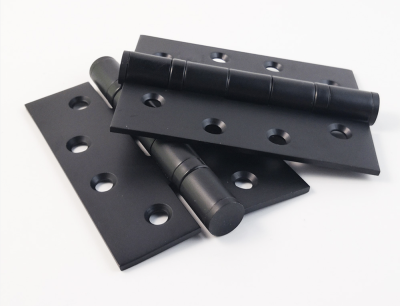
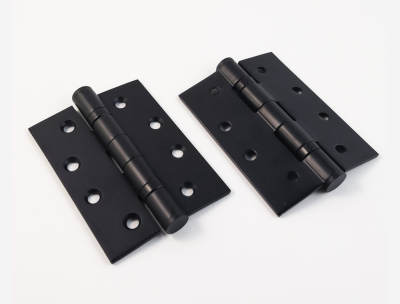
Installation steps of stainless steel hinges
When it comes to the installation steps of stainless steel hinges, many friends still don’t know much, and some even don’t know how to start. Although professional workers come to the door for the installation of doors, windows and furniture, you can be a hand-picked shopkeeper by yourself. But learning a lesson can still be prepared for a rainy day. Next, we will introduce the installation steps of the hinge in detail.
The first step is to determine the number of hinges installed. Generally, the larger the size of doors and windows, the greater the load-bearing capacity required by the hinge, and more can be properly installed.
The second step is to draw lines on the door sash, window sash and door frame and window frame to determine the installation position. The hinge position can be determined by equal parts, or it can be directly placed on the top of the middle meeting.
The third step is to open and close the page slot. One or more grooves matching the thickness of the hinge are opened on the door leaf and window sash, and the depth is the thickness of one leaf.
The fourth step is to fix the hinge in the slot. The way of fixing mainly depends on the material of the doors and windows. If it is a stainless steel door, it can be welded, and if it is a wooden door, it can be fixed with screws.
The fifth step, check the hinge installation quality. After the hinge is installed, open and close the doors and windows several times to see if the hinge is in place. If the hinge gap is too large or the leaf plate is misaligned, it needs to be readjusted.


